Are you curious about how we made our 3D PRO BRO promotional video? Let’s take a deep dive into our 3D production process and see how the idea becomes a video!
Everything starts with pre-production process. First step – director’s statement. It’s an essential element that provides a clear vision and direction for the project. The director outlines the creative approach, stylistic choices, and overall objectives for the commercial. The director's statement is critical to ensure that everyone is on the same page about the creative vision for the commercial.
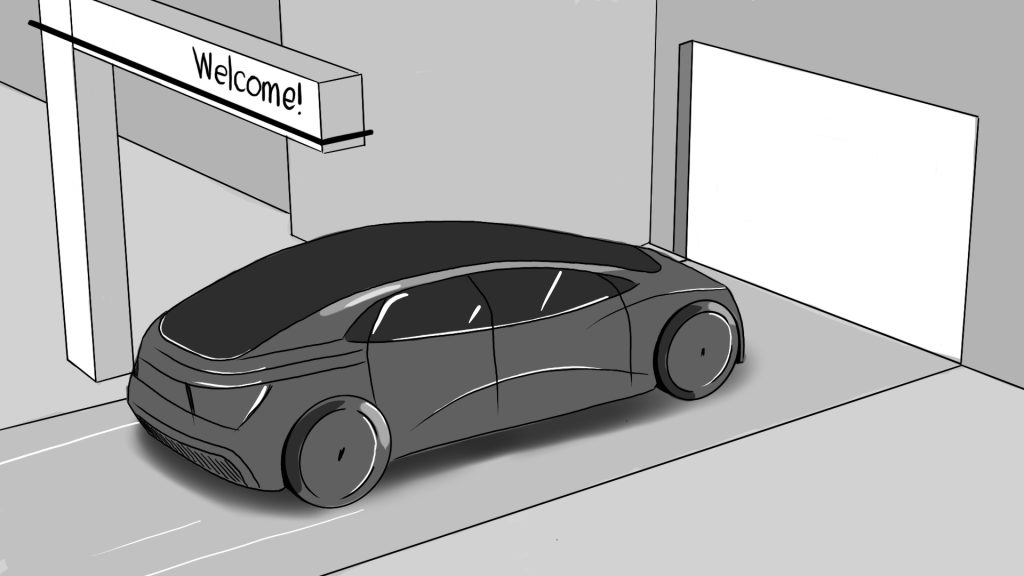
Next step – storyboard&concept art. The storyboard serves as a blueprint for the entire process. Storyboards help the director, production team, and client visualize the commercial and plan the shots and camera angles. Concept art examples are also drawn in this stage of the production. The examples help to establish the visual style and tone of the video. While searching for the perfect style, the team explores different ideas and options before committing to a final design.
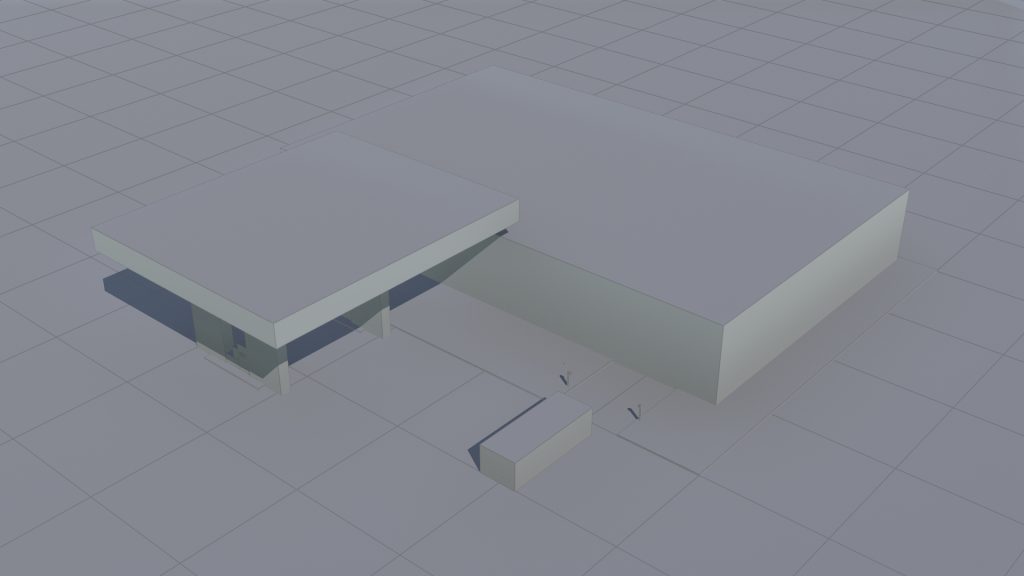
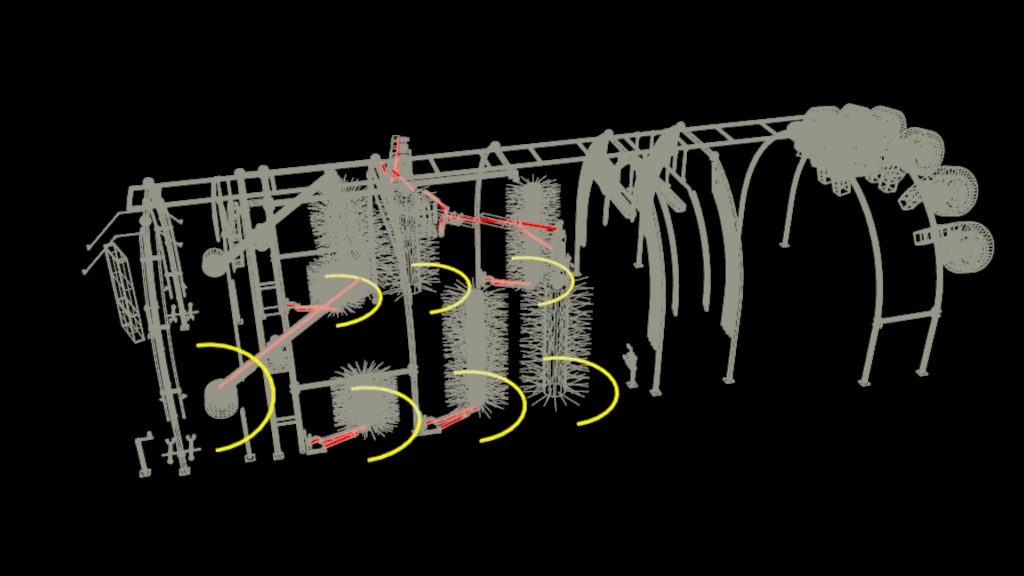
The first step of production is deciding the layout. The team figures out blocking, camera setup, lighting, and environment in this step. The blocking establishes the basic compositions of the scenes. Then the camera angles are set up, and the movement is determined. Lastly, lighting is set to create the mood and atmosphere of the video. Finally, the virtual environment gets a final touch-up with props and background elements.
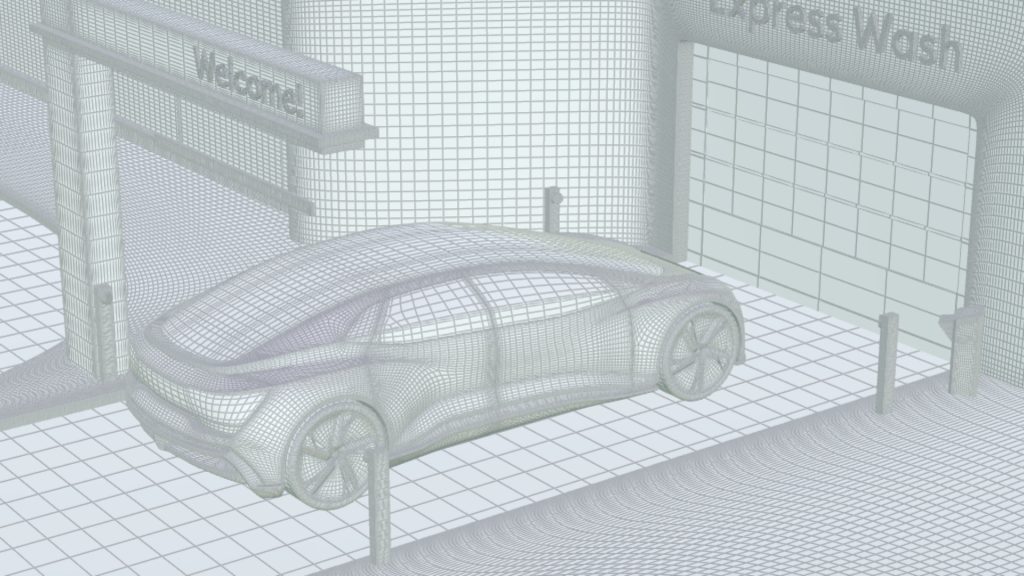
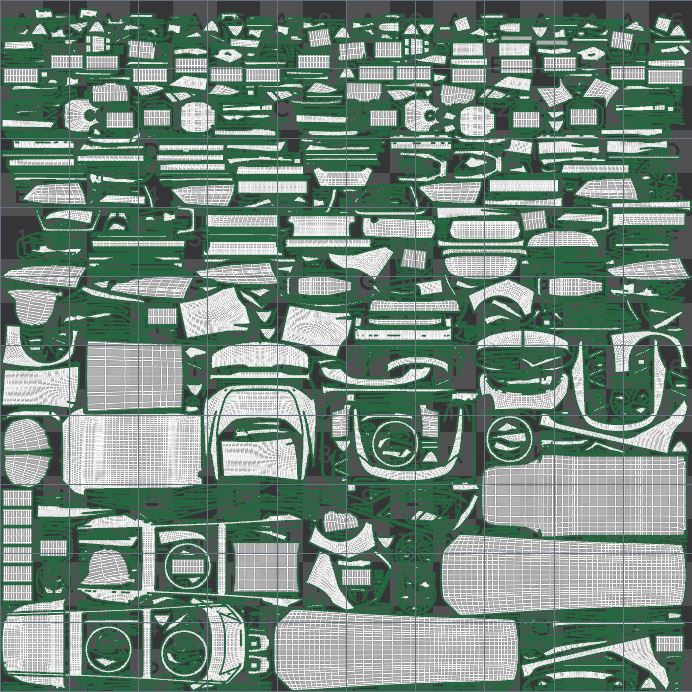
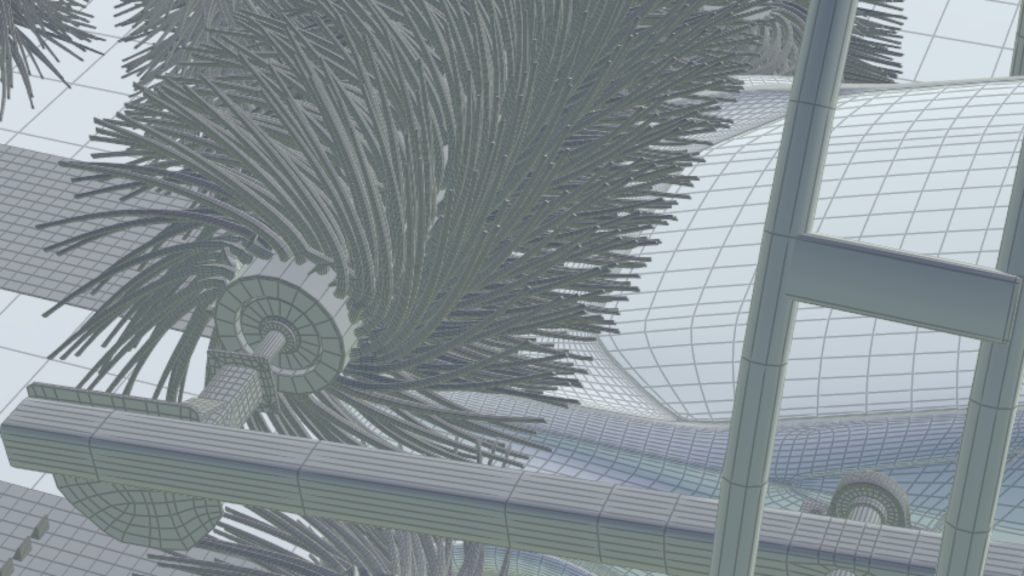
After all the nuances are decided, we move on to modelling. In this part of the production, the production team also gathers references for materials. 3D models are also refined, detailed and optimized to be more efficient for animation and rendering.
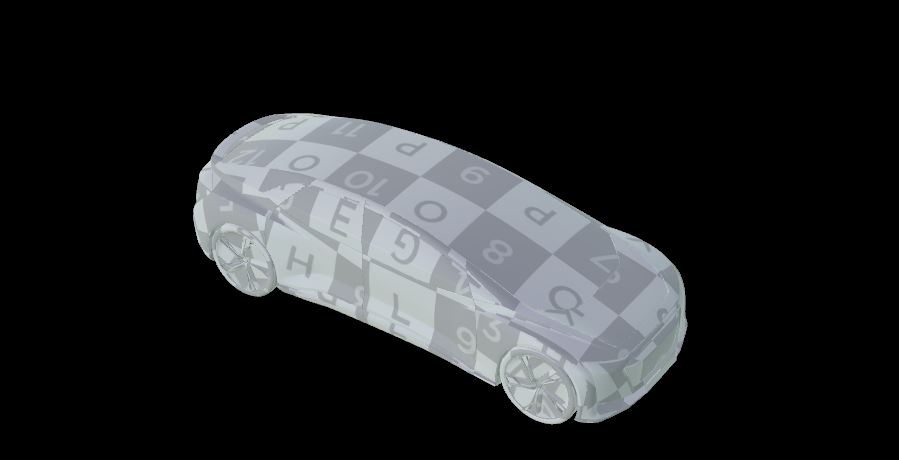
Next stop of the production train – shading. At first, UV mapping must be applied to all 3D models. During this process, the 3D model is flattened into a 2D surface, and that's how the UV map is created. Next, this map is used to apply textures and materials to the 3D model. This allows textures and materials to be applied to specific model parts. Then the texturing starts. The textures and materials are applied to 3D objects to create a more realistic and detailed look. Texturing aims to create a visually appealing and realistic final product.
Before the animation, rigging must be applied. Rigging is an essential part of the 3D production process that involves creating a digital skeleton, or rig, for a 3D model. The rigging allows the model to be animated and moved naturally.
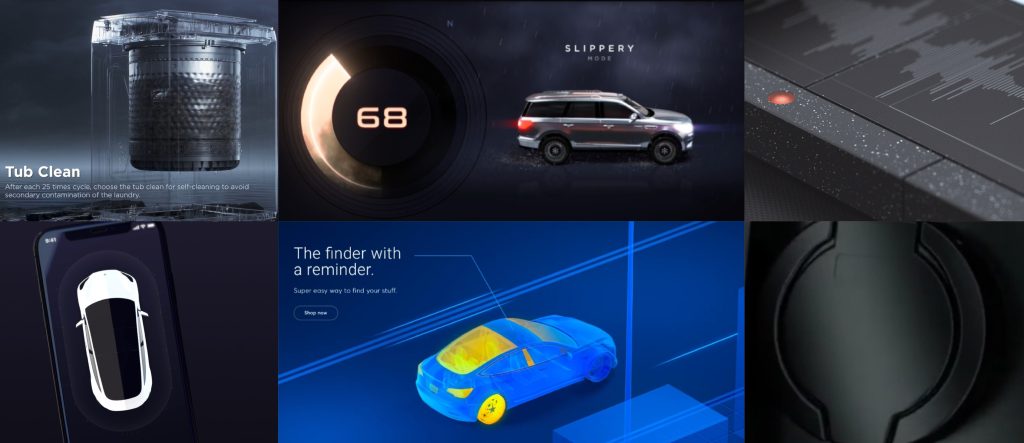
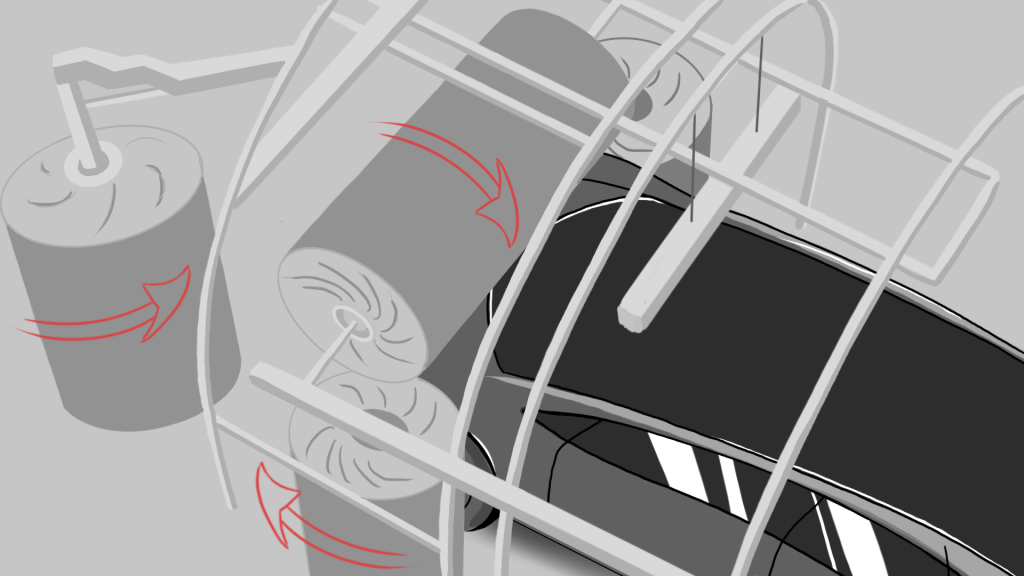
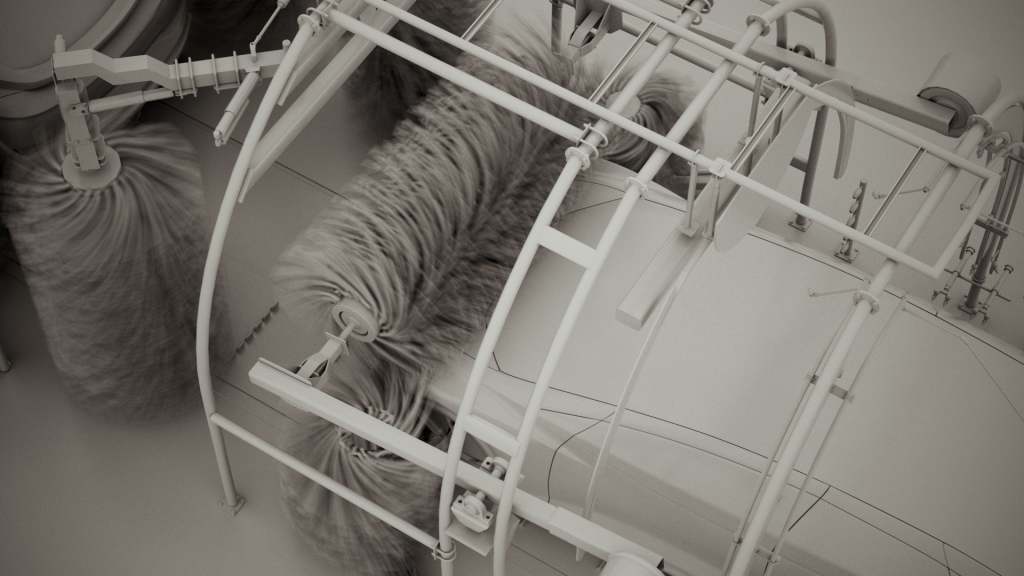
Once the 3D models are rigged, the animation and VFX processes start. The animation process begins with keyframe animation. This involves setting keyframes for the movement of the 3D model at specific points in time. These keyframes are then used to create a smooth and natural animation by filling in the frames between the keyframes. Then, the team reviews the animation and adjusts timing and spacing to make the movements smoother. VFX artists also apply particles, fluids, smoke or other effects. Using their knowledge of physics, they make the effects seem realistic and believable. After this, we proceed to the final step – rendering. The animation is rendered into a video file format that can be played back and shared.
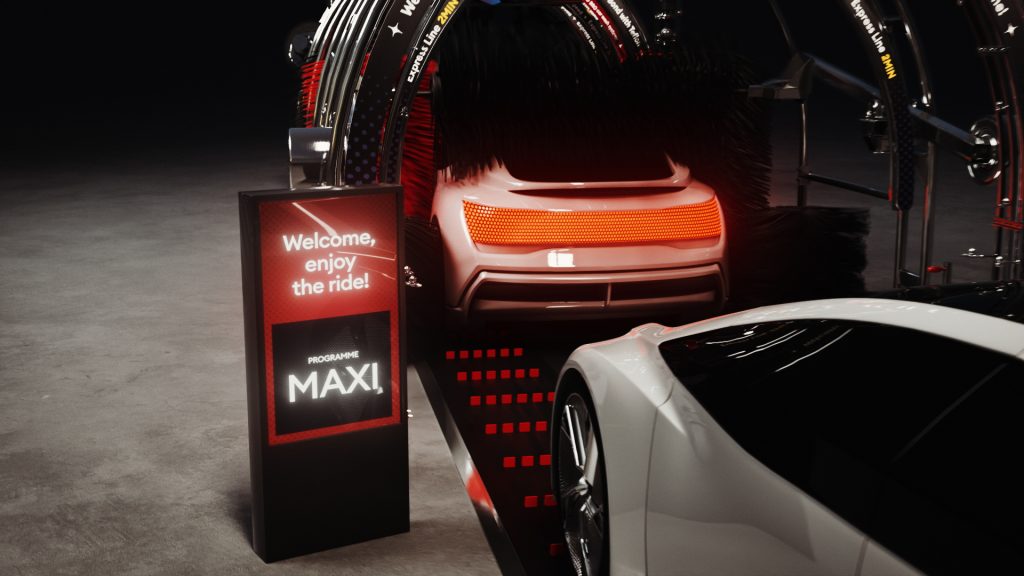
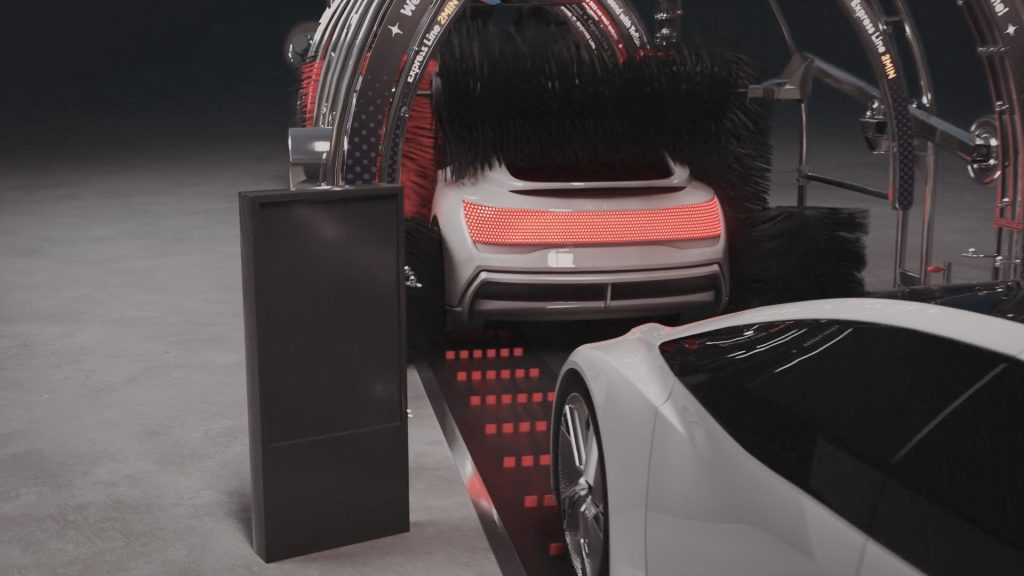
One last stop before compositing is lighting. The team places the lights and materials in the scenes. This can be done using various light sources, such as spotlights, point, area, and directional lights. Once the lights are in place, the properties of each light can be adjusted to create the desired effect. This can include adjusting each light's colour, intensity, falloff, and shadows. The lighting process can also add special effects to the scene, such as lens flares, glows, and bloom effects. These effects can help to create a specific mood or atmosphere in the scene.

The final step to apply – is compositing. Compositing in the process that brings together all the various 3D elements, environments, and special effects, into a cohesive and polished final product. And Voila! Freshly baked video it is!